Since crochet stitches are different from the front and the back, crocheted items are an effective way to illustrate what it means for a surface to be orientable or non-orientable. To do this, let's look at perhaps the most famous non-orientable surfaces: a Möbius strip.
You can construct a Möbius strip with a piece of paper and some tape. Cut the paper into a strip, give it a half-twist, and join the ends together. Congratulations! You have made a Möbius strip, a surface with a single boundary curve.
A surface is orientable if there is a consistent definition of "clockwise" and "counter-clockwise" across the entire domain. I like to visualize this with the right-hand rule:
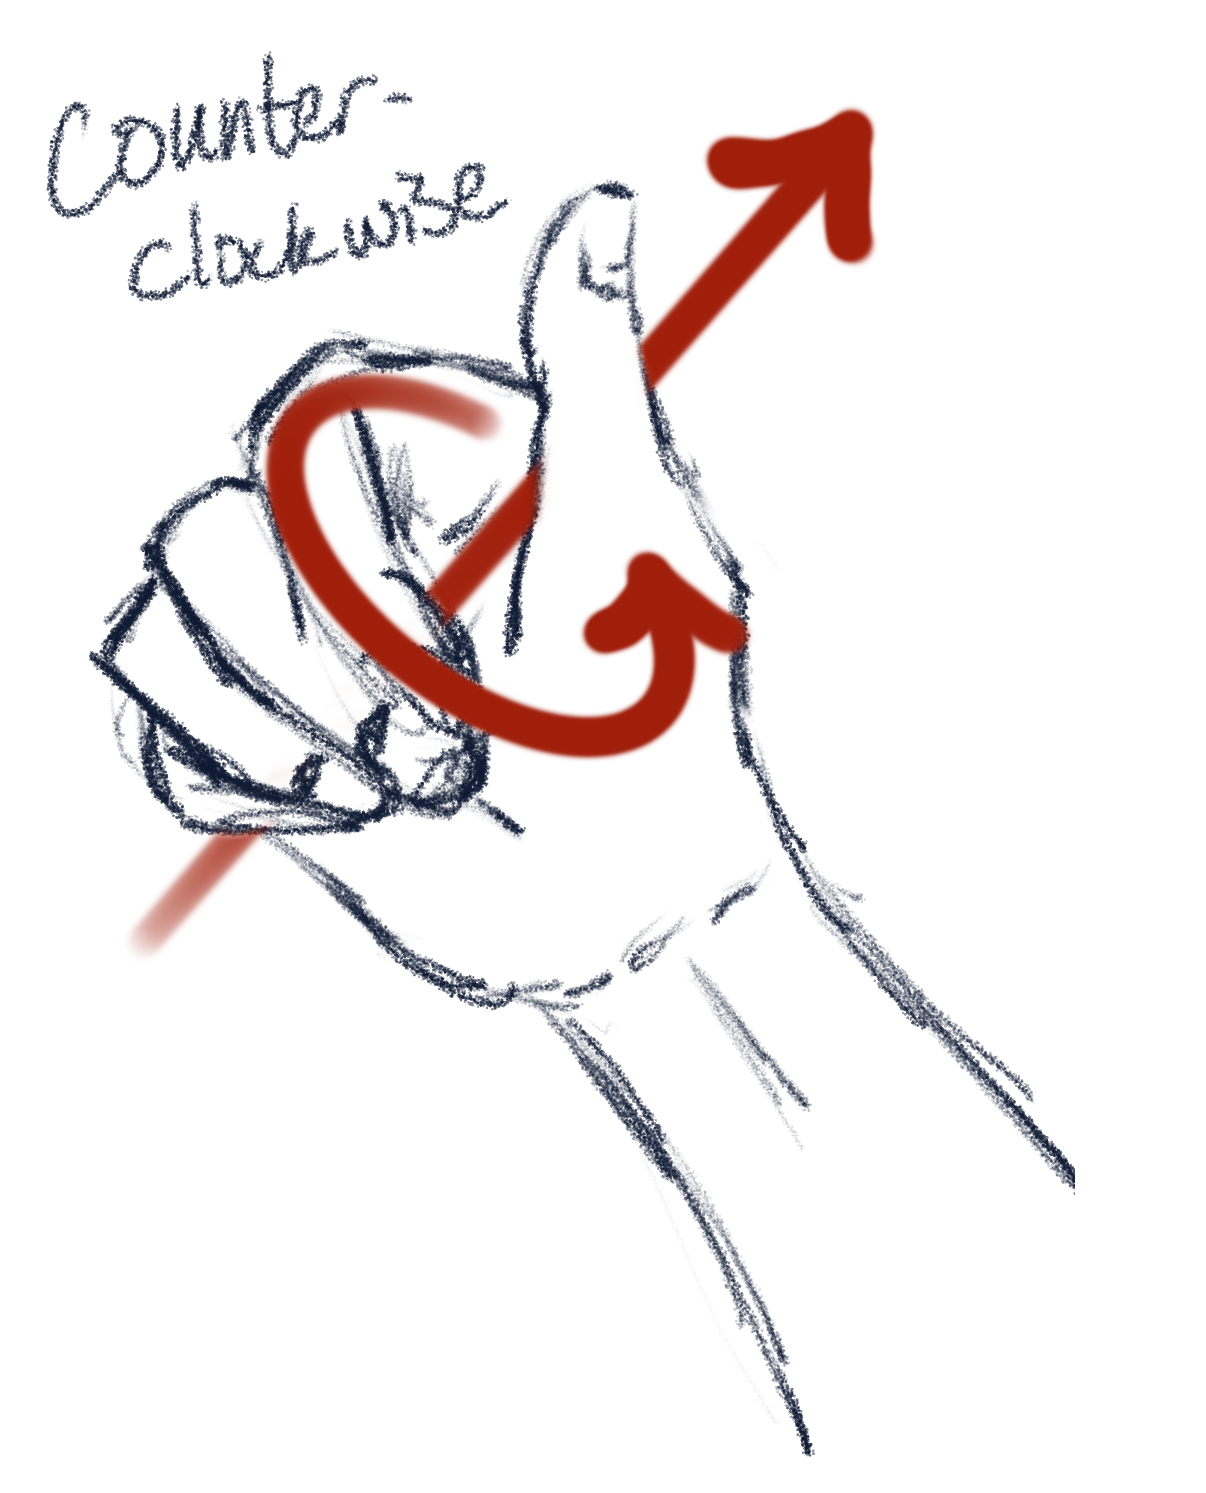
We can think of each crochet stitch as having surface normal vectors pointing through out of the work on the front and into the work on the back. Via the right hand rule, these surface normals correspond to a clockwise or counter-clockwise direction. (illustration of the right hand rule on a crocheted work)
On an orientable surface, like this ring, "clockwise" is the same direction across the whole domain. But on a Möbius strip, this is not the case! We can see this clearly by crocheting these two surfaces and comparing the direction that the stitches face.
Supplies: yarn, crochet hook
(include photos of the two crocheted pieces)